How DO you start a project?
Blog / 31. January 2018The thing with projects is: setting it all up can take some time, especially if it’s your first time doing so.
To help you get started we want to show you a whole project – from start to finish – so you can see all the steps in between and how to set it all up.
Create the project
First things first:
Creating the project itself. Click the plus in the top left and the project creator will slide out.
Of course, you will need a cool (or practical) name for your project. I went with “Uberproject3000” – but you do your thing.
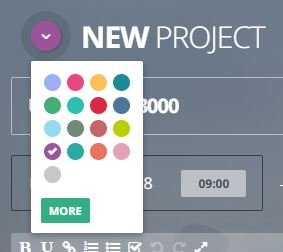
You can also select the color you project will have in the gantt chart later on (don’t worry, you can restyle anytime you want in the end).
Next you can set the timeframe of your project. A simple click on either the begin or end date will open the date picker. Here you can shift the begin or end date of the project or click choose range to set both new. Click apply.

You can add a description of the project if you want to. This can help if you have loads of projects and teams.
Since we are talking about teams: You can create yours right here, too. Click the team selector and select the team you want to assign this project to.
Teams
No team there? Then create one. Click “create new team”, give your team a fitting name and click the plus.
After creating the team, you can already add team members. You only need to put in their email addresses and decide which role they should have in your project. For more information about permissions and teams click here.
Your team members just have to confirm their email and when they login they will be able to see the project.
Now click create project and you will see it in all its glory.
But as I wise man once said: A project is only as good as its tasks… or something like that.
Tasks / Milestones
Tasks and milestones are a very important part of every project. It always helps a lot to distribute special tasks to specific team members and to use milestones so you can keep track of important deadlines. To create some tasks, you have to select the project first if it is not selected yet – to do so simply double click the project in the gantt chart or click the little pen on the left side of the project.

Now look to the right, click “Add” next to Tasks/Milestones and add as many tasks as you want.

Each task can be named, get a description and an individual timeframe (which has to be in the project timeframe of course) and can be assigned to one or more team members.
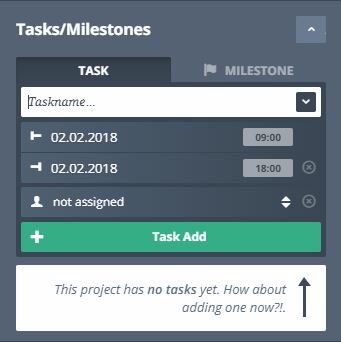
Once you click “Task Add” you will see the task in the gantt chart. If needed it can be rearranged via drag & drop or be extended.
Once you have a couple of tasks you can set dependencies. Dependencies help to visualize which tasks depend on other tasks to be done first.
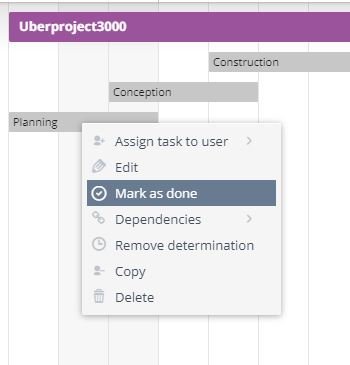
Done with a task? You can either right click the task in the gantt chart and select “mark as done” or double click the task and click the “Task finished” checkbox in the bottom right.
The same goes for the whole project once it is done.
I hope this little introduction made beginning to work with agantty easy as pie.
For more information about how everything works and all those little features you can use, have a look at our features.